Dreamweaver tutorial: Work Views in Dreamweaver
What you’ll learn in this Dreamweaver Tutorial:
|
This tutorial provides you with a foundation for working with the Adobe Dreamweaver workspace. It is the second lesson in the Adobe Dreamweaver CC Digital Classroom book. For more Adobe Dreamweaver training options, visit AGI’s Dreamweaver Classes. |
Adobe Dreamweaver Tutorial: Work Views in Dreamweaver
In this book’s lessons, you’ll do most of your work in the Design View, as you’re taking advantage of Dreamweaver’s visual page layout features. You can, however, easily access the HTML code being written as you work in the Design View and use it to edit your pages through Dreamweaver’s other work views. You’ll switch views, using the Document toolbar.
|
The Document toolbar. |
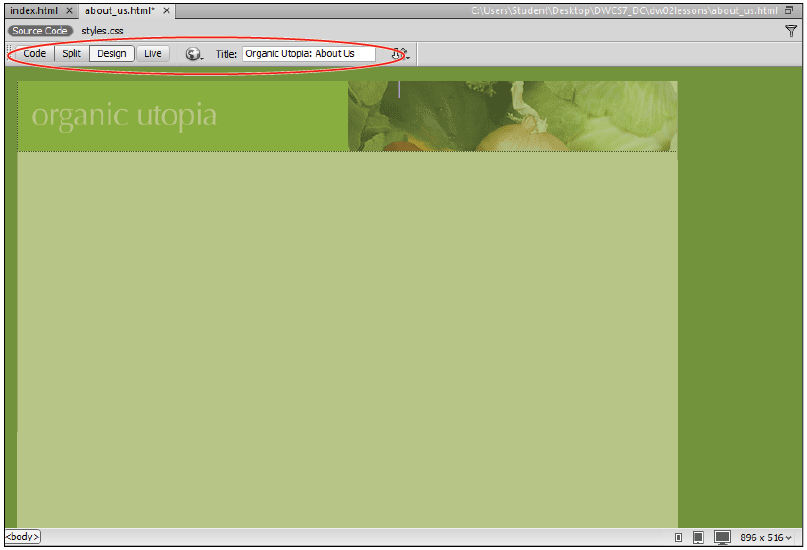
1 In the Document toolbar, click the Design view button if it is not currently selected. Design view is a fully editable, visual representation of your page, similar to what the viewer would see in a browser.
|
With Design view, you see your page as the viewer will see it. |
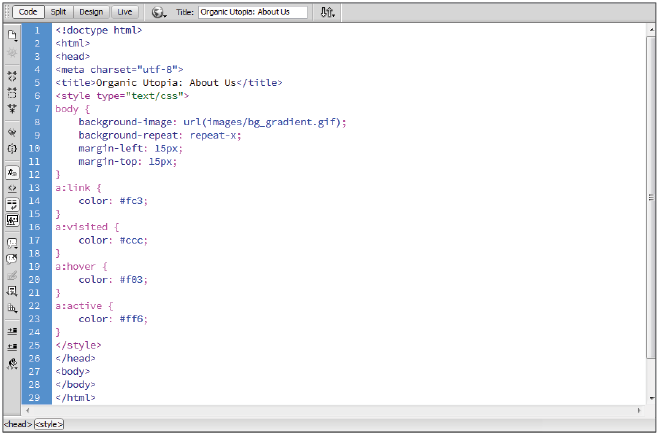
2 Click the Code view button to switch to the Code view. Your page is now displayed in a hand-coding environment used for writing and editing HTML and other types of code, including JavaScript, PHP, and ColdFusion.
|
Code view shows the HTML code generated to display your page. |
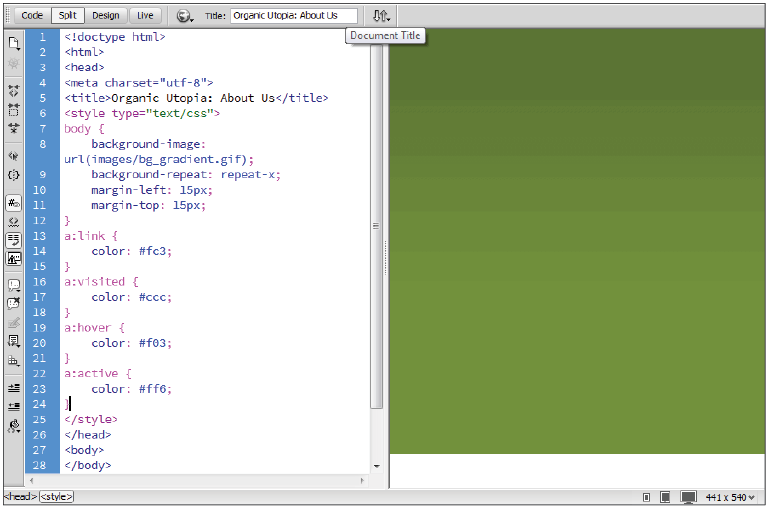
3 Click the Split view button to split the document window between the Code and Design views. This view is a great learning tool, as it displays and highlights the HTML code generated when you make a change visually in Design mode, and vice versa.
|
Use Split view to display your page in both modes at once. |
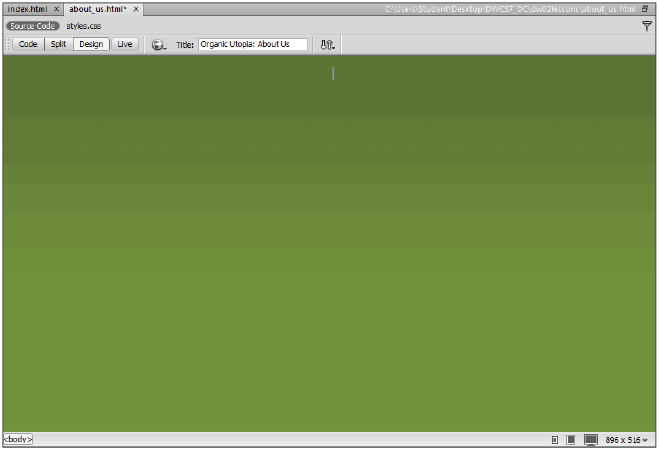
4 Switch back to the Design view to continue this lesson.
A deeper look into the Files panel
You have already seen how Dreamweaver populates the Files panel when you define a new site. However, the Files panel is more than just a window into your root folder; it also allows you to manage files locally and transfer them to and from a remote server. The Files panel maintains a parallel structure between local and remote sites, copying and removing files when needed to ensure synchronicity between the two.
The default workspace in Dreamweaver displays the Files panel in the panel grouping to the right of the document window.
When you chose to use the dw02lessons folder as your local root folder earlier in this lesson, Dreamweaver set up a connection to those local files through the Files panel.
Viewing local files
You can view local files and folders on the right side of your screen within the Files panel, whether they’re associated with a Dreamweaver site or not.
1 Click the drop-down menu in the upper-left part of the Files panel, and choose Desktop (Windows) or Computer > Desktop folder (Mac OS) to view the current contents of your Desktop folder.
2 Choose Local Disk (C:) (Windows) or Mac HD (Mac OS) from this menu to access the contents of your hard drive.
3 Choose CD Drive (D:) (Windows) from this menu to view the contents of an inserted CD. On a Mac, the CD icon and the name of the CD appear in the menu.
4 Choose Organic_Utopia to return to your local root folder view.
Selecting and editing files
You can select, open, and drag HTML pages, graphics, text, and other files listed in the Files panel to the document window for placement.
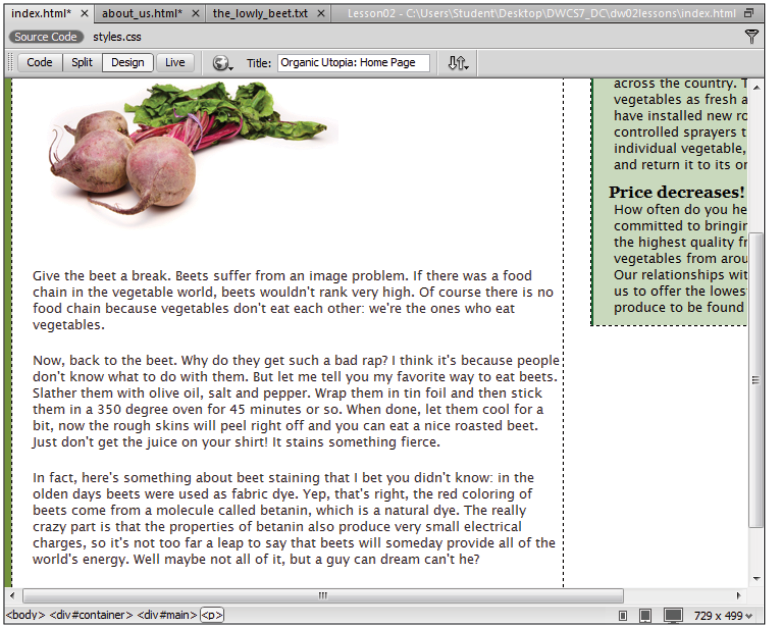
1 Double-click the index.html file located in the Files panel. The page opens for editing. Click beneath the heading The lowly beet.
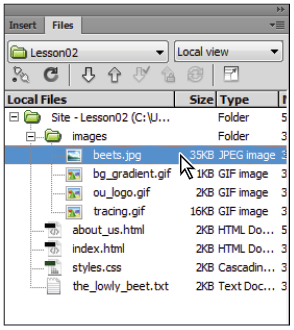
2 Click the plus sign (Windows) or arrow (Mac OS) to the left of the images folder to expand it and then click and drag the beets.jpg image file from the Files panel to the index.html document window.
|
Click and drag the beets.jpg file to index.html. |
If you have an image editor such as Photoshop or Fireworks installed on your computer, you can double-click on the beets.jpg image file to open for editing and optimizing. |
3 Double-click on the_lowly_beet.txt in the Files panel to open it directly in Dreamweaver.
4 Choose Edit > Select All to select all the text in this file. You could also use the keyboard shortcuts, Ctrl+A (Windows) or Command+A (Mac OS).
5 Choose Edit > Copy to copy the text to the clipboard. You could also use the keyboard shortcuts, Ctrl+C (Windows) or Command+C (Mac OS).
6 Click the index.html tab of the document window to return to the index page. Click your page to the right of the beet image to place an insertion cursor, and press Return once to start a new paragraph.
7 Choose Edit > Paste. You could also use the keyboard shortcuts, Ctrl+V (Windows) or Command+V (Mac OS). The text has now been added to the open page, beneath the image, in the default text color you chose earlier.
|
Paste the new text in the page. |
8 Choose File > Save and then close this file.