Photoshop tutorial: Using panels in Photoshop CC
What you’ll learn in this Photoshop Tutorial:
|
This tutorial provides you with a foundation for working with Adobe Photoshop panels. It is the first lesson in the Adobe Photoshop CC Digital Classroom book. For more Adobe Photoshop training options, visit AGI’s Photoshop Classes. |
Adobe Photoshop Tutorial: Using panels in Photoshop CC
Much of the functionality in Photoshop resides in the panels, so you will learn to navigate them and quickly find the ones you need. In this section, you will learn how to resize, expand, and convert panels to icons and then back to panels again. You will also learn how to save your favorite workspaces so you don’t have to set them up every time you work on a new project.
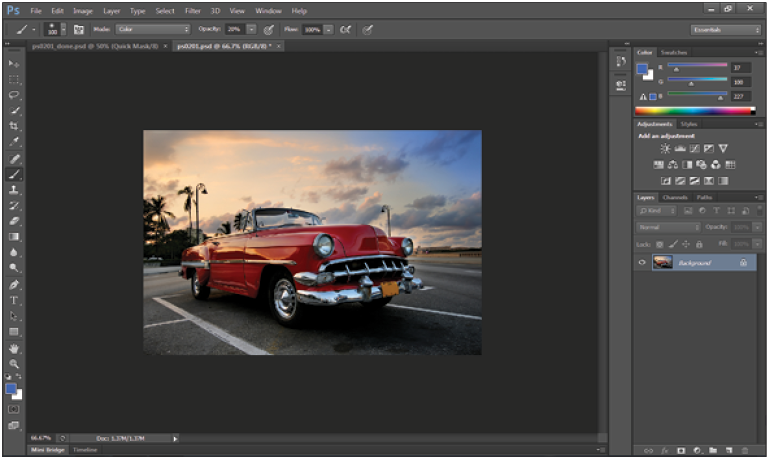
1 Choose Window > Workspace > Reset Essentials to put the panels back to their default locations.
|
The default panel locations. |
Putting the panel system to use
Photoshop has a default setting for all the panels: it’s what you see when you initially launch Photoshop. There are many panels, and not all of them are needed for all projects. This is the reason Photoshop has defined workspaces, which can help you streamline your workflow. There are many prebuilt workspaces available under the Window > Workspace menu; you can pick the one that helps you find the features you need for the task at hand.
|
You can select different workspaces that help you find features |
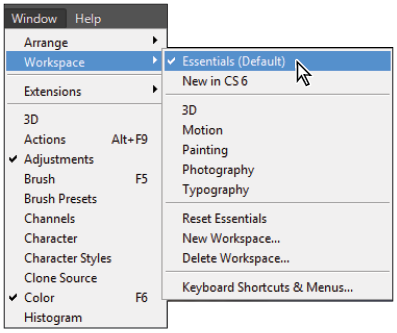
At this point, you have just reset the Essentials workspace. Test different workspaces by selecting Painting, and then Photography from the Window > Workspace menu. Once you have seen how panels can be collapsed and others made visible, return to Window > Workspace > Essentials.
Keep in mind that all these panels are accessible at all times from the Windows > Workspace menu. |
To open panels that are not visible, choose the Window menu. If there is a check mark to the left of the panel listed, it means that the panel is already open. Photoshop CC can determine whether a panel is hidden behind another; panels that are hidden this way will not be marked as open, so you can select it in the Window menu to bring the hidden panel forward.
1 Select the Brush tool ( ).
).
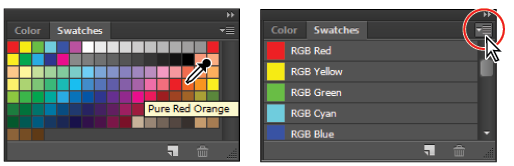
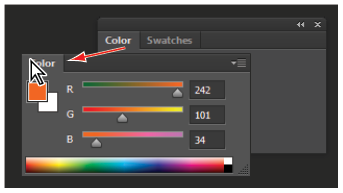
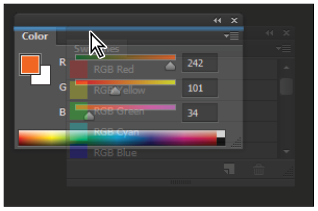
2 Click the Swatches tab that is hidden behind the Color panel in the docking area to the right.
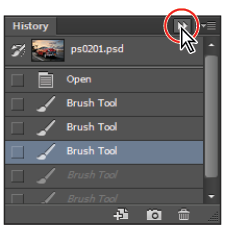
3 Click the color called Pure Red Orange in the Swatches panel. Notice that when you cross over a color, a Tooltip appears. If it is easier for you to read the color, you can select Small List from the Swatches panel menu ( ) in the upper-right corner.
|
Click the Swatches tab to bring Choose to view the Swatches panel |
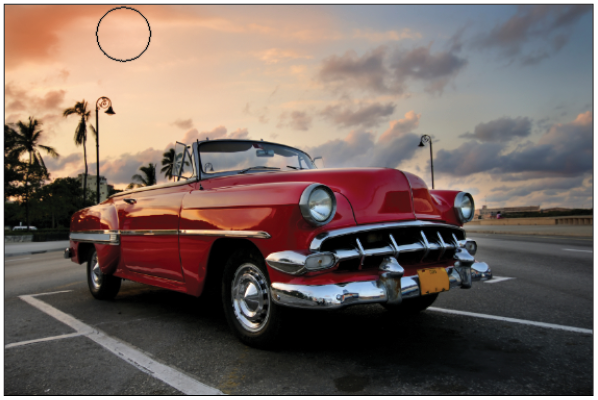
4 With the Brush tool selected, start painting in the upper-left corner of the image, adding orange to the sky. If necessary, press Ctrl+Z (Windows) or Command+Z (Mac OS). Keep in mind that by masking, or selecting parts of the image, you can have much more control over where you paint in an image. Read Lesson 4, “Making Selective Changes in Photoshop CC,” for more information about selective changes.
|
Add orange to the sky in the upper-left part of the image. |
Choosing other panels
You will now select another panel, the History panel. The History panel allows you to undo and redo steps, as well as save versions of your image while you work. In this exercise, you will use the History panel to undo and redo steps. In Lesson 5, “Painting and Retouching,” you will spend more time in the History panel.
1 Click the History panel icon ( ) that is visible in the Essentials workspace. If you cannot locate it, choose Window > History.
|
Selecting the History panel. |
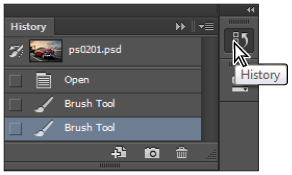
Each row in the History panel represents a history state (or step). You can click back on earlier states to undo steps that you have taken, or redo by clicking the grayed-out history state. Keep in mind that if you step back in history and then complete a new step, all the gray history states disappear. This history default can be changed by selecting History Options from the History panel menu and checking Allow Non-Linear History.
2 Click back on the various history states to see how your steps are undone. Click forward again to see your steps redone.
|
Undoing a step in the History panel. |
Expanding and collapsing your panels
To better manage your space, you can collapse and expand your panels. You can do this automatically with a preconfigured workspace, or you can choose to expand only the panels you want to see.
1 You might find that you need to reset your workspace to bring it back to its original configuration. If this is necessary, choose Window > Workspace > Reset Essentials.
2 Collapse groups of panels by double-clicking the dark gray bar (title bar) at the top of the panels. Double-click the dark gray bar again to expand them.
|
Collapse the panel by double-clicking the title bar. |
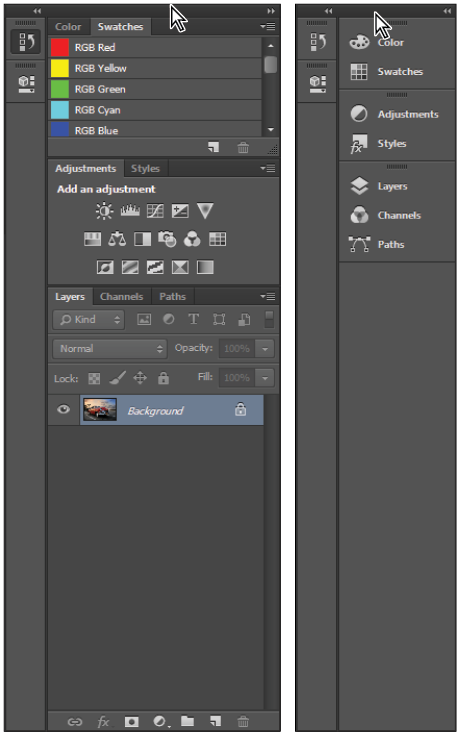
You can also collapse a panel by clicking the double-arrows in the upper-right corner of the panel.
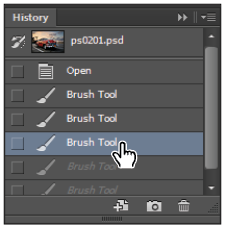
3 If the History panel is no longer open, click the icon for the History panel. Click the double-arrow in the upper-right area to collapse that panel back to an icon.
|
You can collapse a panel by clicking |
Customizing your panels
A panel group is made up of two or more panels that are stacked on top of each other. To view the other panels in a group, select the name on the tab of the panel. You will now learn to organize your panels according to your preferences.
1 If the Swatches panel is not forward, select the tab that reads Swatches; the Swatches tab is brought forward.
2 Now, select the Color tab to bring the Color panel to the front of the panel group.
3 Click the tab of the Color panel, drag it away from the panel group and into the image area, and then release the mouse—you have just removed a panel from a panel group and the docking area. Rearranging panels can help you keep frequently-used panels together in one area.
|
The Color panel as it is dragged away from a panel group. |
4 Click the tab area at the top of the Swatches panel and drag it over the Color panel. As soon as you see an outline around the Color panel, release the mouse. You have now made a panel group.
|
The Swatches panel dragged into the Color panel, |
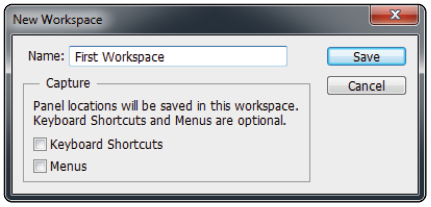
You’ll now save a custom workspace. Saving a workspace is a good idea if you have production processes that often use the same panels. Saving workspaces is also helpful if you are in a situation where multiple users are sharing Photoshop on one computer.
5 Select Window > Workspace > New Workspace; the New Workspace dialog box appears.
6 In the File name text field, type First Workspace, and then click Save.
|
Name your new workspace. |
7 Whenever you want to reload a workspace, whether it’s one that you created or one that comes standard with Photoshop, select Window > Workspace and select the desired workspace from the list.
Continue to the next Photoshop Tutorial: Hidden tools in Photoshop >