Excel Tutorial: How To Create Additional Worksheets
Creating additional worksheets
Each new workbook file you create consists of a single worksheet. You can insert additional worksheets into a workbook file when you need to manage a new set of related data.
Inserting worksheets
- Choose Insert from the Home tab and select Insert Sheet.
- A new blank worksheet is displayed to the left of the current worksheet named Sheet2.
You can also click the plus sign located at the bottom of the worksheet window, adjacent to the worksheet tab. Excel inserts a new worksheet to the right of the current worksheet tab.

A. Worksheet tab. B. New Sheet button.
Renaming worksheets
Each worksheet you create is assigned a consecutively numbered name, such as Sheet1, Sheet2, and Sheet3. You can assign more meaningful names to your worksheets.
- Click the tab labeled Sheet1.
- Choose Format from the Home tab and select Rename Sheet.
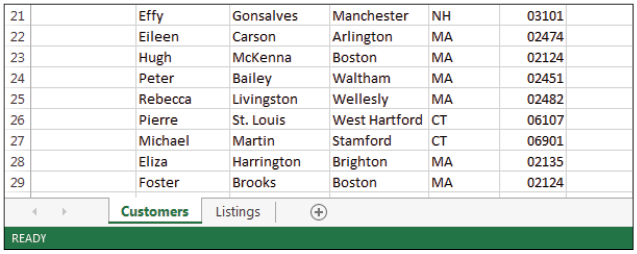
- Excel highlights the current worksheet tab. Type Customers and press Enter.
- Double-click the tab labeled Sheet2.
- Type Listings and press Enter.
Moving and copying worksheets
When you are working with multiple worksheets in a workbook, you might need to rearrange the order of their appearance. Moving a worksheet requires you to click and drag the tab to the new location in the workbook. You can also make a copy of a worksheet in your workbook.
1 Click and drag worksheet Customers and drop it right before tab Listings. Notice that as you drag the tab, a small black triangle appears as a guide. When the triangle is at the point where you want it, let go of the tab to drop the worksheet into place.
Move the Customers tab before the Listings tab.
2 Choose File > Save to save your work.
Changing the color of worksheet tabs
You can color code your Excel worksheet tabs for organization purposes just as you would paper-based filing systems. When managing data in a workbook containing multiple tabs, you can rely on color coding to help you find your information quickly and easily. For instance, in a Budget worksheet, you could change the color of a tab containing Income to Blue and the tab containing expenses to Red.
- Click the Customers worksheet.
- From the Home tab, choose Format.
- Choose Tab Color and select Blue from the resulting color menu.
- Change the color of the Listings worksheet to Orange.
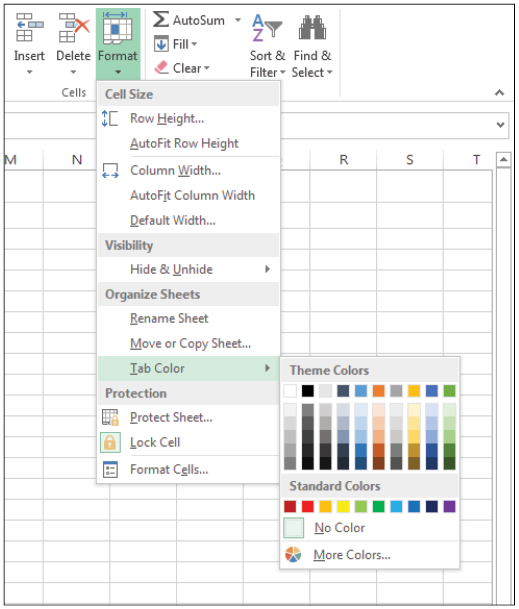
Assign color-coding to worksheet tabs to help keep data organized.
Hiding sheets
You can hide worksheets from view just as you do with rows and columns.
- Click the Listings tab.
- From the Home tab, choose Format.
- From the Visibility section of the Format menu, choose Hide & Unhide.
- Select Hide Sheet from the resulting menu. Excel removes the worksheet and its tab from view.
Unhiding sheets
- From the Home tab, choose Format.
- From the Visibility section of the Format menu, choose Hide & Unhide.
- Select Unhide Sheet from the resulting menu.
- In the Unhide dialog box, select Listings, and then click OK. Excel redisplays the hidden worksheet.