Excel Tutorial: Printing Partial Areas and Specific Regions in Excel
It's common to need to print specific parts of worksheets and workbooks in Excel. If you want to print your Excel worksheet, you might find that you have more data than easily fits onto a standard piece of paper. When your worksheets contain a great deal of information, you’ll need to specify details about the data you want to print and how you want it to fit on the page. This makes the printing process a bit more detailed than many other applications.
Printing a partial area in Excel
By default, Excel prints the entire worksheet. If you want to print a partial area or specific range of data, you need to select it. Follow these steps to print a partial area or specific region in Excel:
- Select range A1:F38.
- Click the File tab and choose Print.

Excel shows you a static preview of what your worksheet will look like when printed. - In the Settings section of the Print Backstage view, click the drop-down arrow and choose Print Selection.
- In the Printer section, specify your printer.
- Click Print to print your worksheet.
Defining a print area in Excel
If you frequently need to print the same range of data, define it as the Print Area so you don’t have to select the same range every time you’re ready to print. Follow these steps to define a print area in Excel:
- Select range A1:F38.
- From the Page Layout tab, choose Print Area.
- Select Set Print Area from the resulting menu. Each time you elect to print, Excel automatically selects the range you defined as the Print Area.
- To clear the print area, choose Print Area from the Page Layout tab and select Clear Print Area from the resulting menu.
Viewing a Print Preview in Excel
The Print menu incorporates a preview of the worksheet as it will appear when printed. If you need to make changes to the worksheet based on your preview, you’ll need to exit Preview mode.
The Page Layout mode in Excel displays a fully-editable preview of your printed page. When you switch to Page Layout, guides indicate the current margins and page breaks, and you can continue working on your worksheet as well. To view a print preview in Excel:
- Select range A1:F38 in the Excel worksheet.
- In the Status bar, click the Page Layout button. Excel switches to Page Layout mode, displaying the worksheet as it will appear when printed.
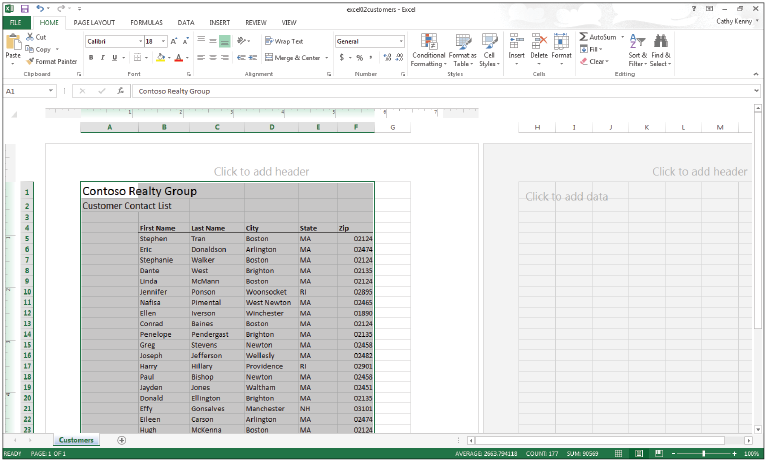
The dynamic Page Layout Mode allows you to preview and work on your data. - Click Normal on the Status bar to return to the default worksheet display mode.